
Products
Truck Mounted Compressors
Compressors for Electric Vehicles
Truck Mounted Blowers
Vacuum Pumps
Liquid Transfer Pumps
Hydraulic Oil Coolers
Systems & Packages
Ancillaries
Applications
Dry Bulk
Liquid Transfer
Liquified Gas Transfer
Highway & Utility Vehicles
eMobility
Hydraulics & Controls
Vacuum Truck Systems for Industrial, Municipal & Construction
Industries
ADR Truck Conversions
Animal Feed
Chemical
Construction Materials
Cryogenics
Fluid Transfer
Food and Beverage
OptiLoad Milk Systems
Mobile Tyre Service
Paper Industry
Pharmaceutical
Utility Vehicles
Walking Floor Trailer Systems
Waste Collection
Vehicle Maintenance Support
Service & Parts Protect - Maintenance & Asset Protection Solutions
Service Kits
Emobility Service Kits
Vehicle OBD Access & Maintenance Info
E-Mobility Business: European Service Network
Parts Protect for Hibon & Robuschi Transport
Knowledge Hub
Success Stories
Document Finder
Access Our Exclusive Webinar Library Anytime
About Us
News & Events
Our Global Locations
Discover Our Distributors
Product Selector
Document Finder
Our Brands
Compliance

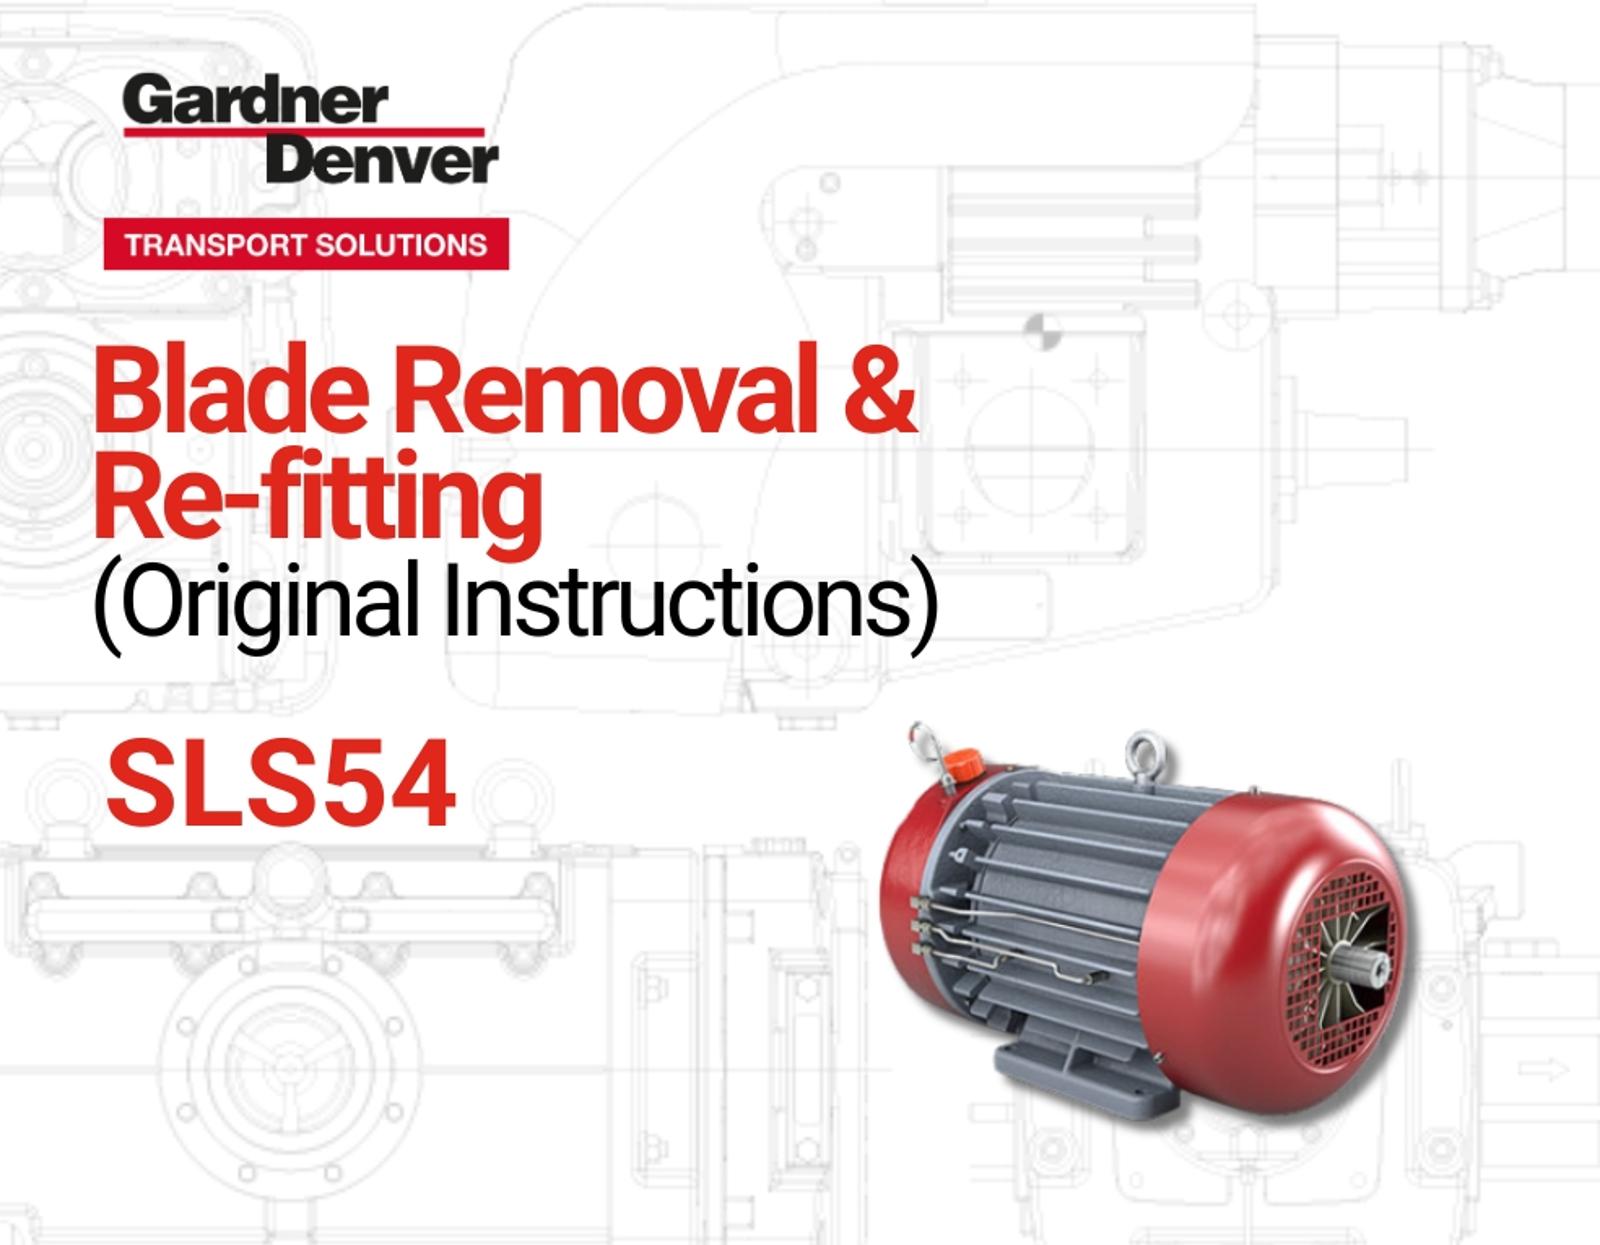
Efficient Blade Replacement for SLS Systems

Streamline the blade change process with this comprehensive Operator Procedure guide for SLS 34/54 Blade Change. Designed for service technicians, this step-by-step document ensures safe, accurate, and efficient blade removal and re-fitting while adhering to health and safety standards.

What’s Inside the Guide?

Health & Safety Precautions

  • Personal Protective Equipment (PPE): Safety glasses, ear defenders, mask, heat gloves, and manual handling precautions.
  • COSHH Compliance: Ensure adherence to regulations for hazardous substances.

Blade Change Process

Step-by-step instructions for removing and re-fitting blades:

  1. Fan Cowl Removal: Remove screws, mark the cowl, and carefully remove the fan.
  2. Side Plate Removal: Disconnect the oil pipe, remove cap screws, and expose the rotor and blades.
  3. Blade Removal: Carefully remove old blades and ensure the rotor and body are free of debris.
  4. Blade Re-fitting: Oil blades, insert into rotor slots, and secure side plate with cap screws.
  5. Shim Replacement: Clean mating surfaces, measure shim thickness, and replace if damaged.
  6. Final Assembly: Re-attach the oil pipe, refit the fan cowl, and ensure the rotor and blades run freely.

Key Notes

  • Debris Clearance: Use an airline to blow out debris during the process.
  • Oil Application: Lightly oil blades to ensure smooth operation.
  • End Float Check: Add a clock (DTI) to verify end float specifications.
Gardner Denver Transport

Country

Industry

Your request will be forwarded to the relevant individuals to assist with your request.
By clicking 'Send' you are authorizing Gardner Denver Transport to contact you so that we may fulfill your request, as well as to communicate with you regarding our products and services.
Terms and Conditions
Privacy Policy

(* required fields)

Gardner Denver Transport

Reach Out to Us

Document Library